
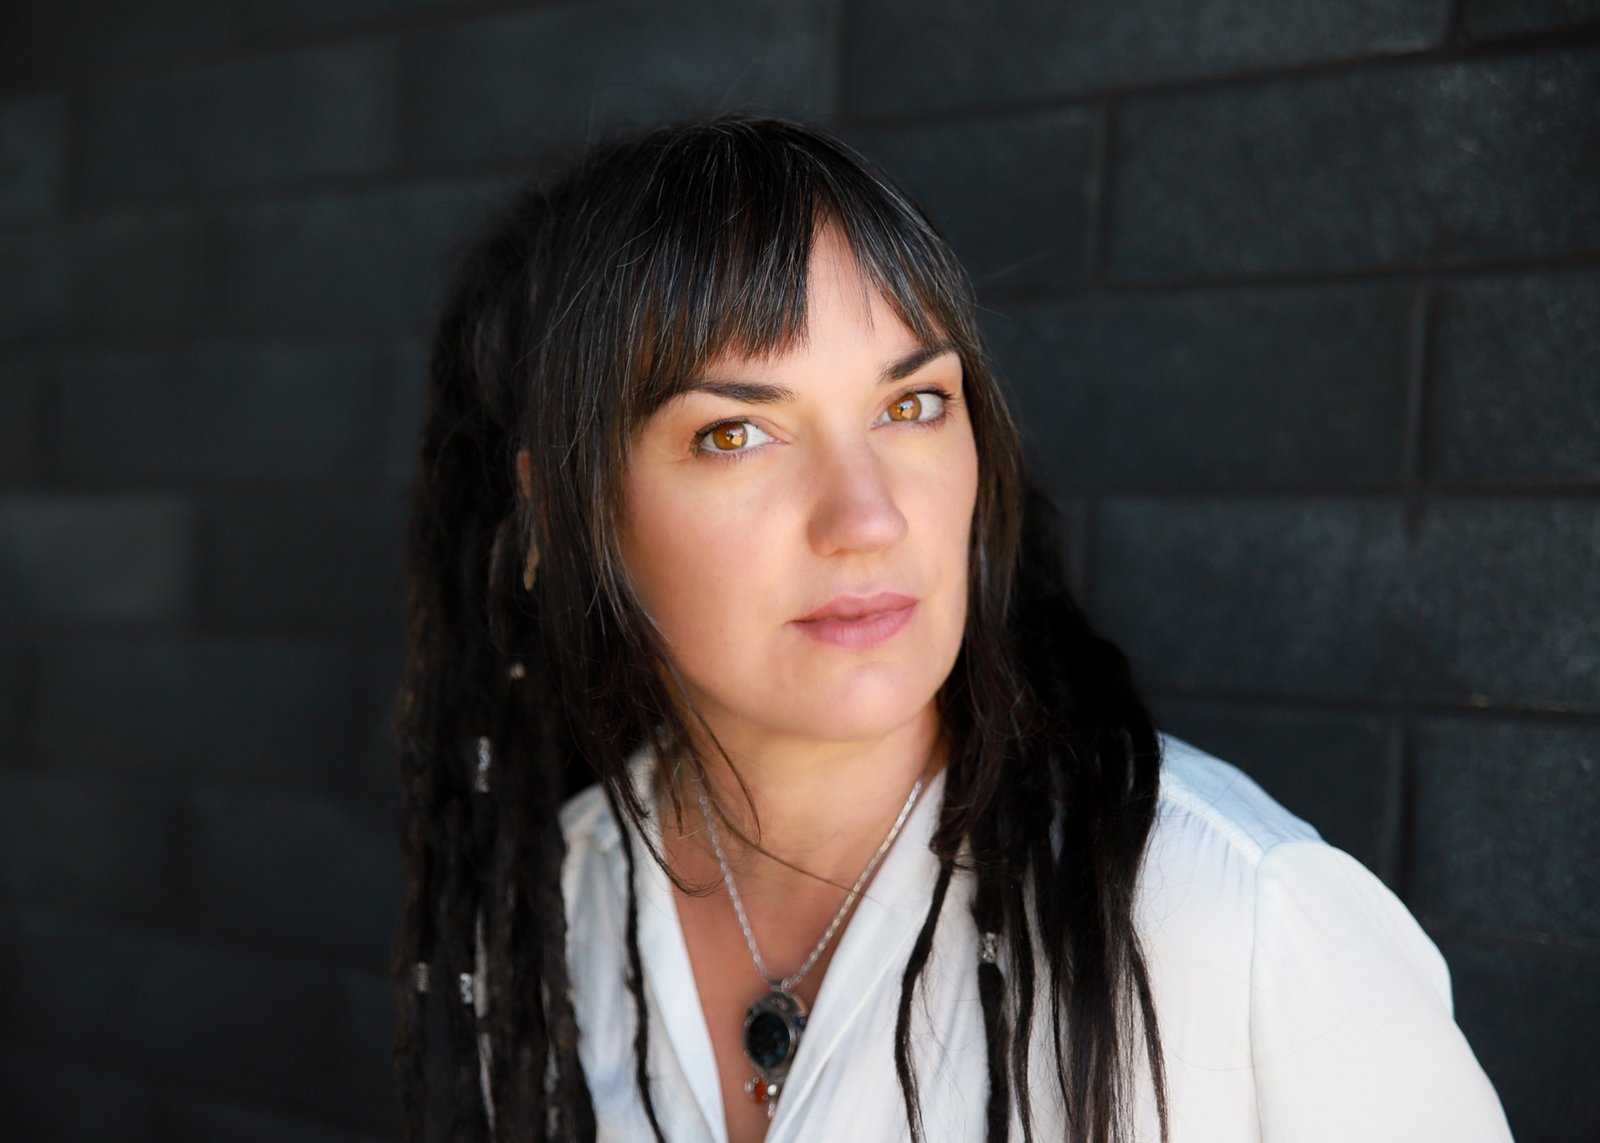
Personal branding photography is one of the most valuable investments you can make in your business, and it doesn’t have to cost a fortune to get right. Whether you’re picking up your phone, dusting off an entry-level camera, or briefing a photographer for the first time, the difference between a shoot that produces a handful of usable images and one that gives you three months of content comes down to one thing: planning.
This guide walks you through exactly how to plan a personal branding photo shoot from scratch. I cover what to shoot, where to shoot it, and what gear you actually need. It’s written for bloggers and small business owners who want to do it themselves, but the shot list and location advice applies equally if you’re working with a photographer on a budget and want to get the most out of your session.
The most common mistake people make with personal branding photography isn’t a technical one. It’s showing up without a plan and hoping it comes together on the day. Doing a little preparation is what separates a shoot that feels productive from one that feels scattered.
My advice as a professional brand photographer; make sure you have a shot list, do a location scout, and have a clear idea of how you’ll use the images. By the end of this guide you’ll have everything you need to plan a shoot that produces images you’re proud to put in front of your audience.
IN THIS GUIDE
Step 1: Get Clear on How You’ll Use the Images
Before you think about locations or outfits, start with the end in mind. Where will these photos actually live? The answer shapes every decision that follows.
Make a quick list of every place you need a photo of yourself or your brand right now:
- Homepage hero image
- About page portrait
- Social media profile photos (Instagram, LinkedIn, Facebook)
- Blog post featured images
- Email newsletter header
- Pinterest profile image
- Guest bio or press features
Once you know where the images are going, you’ll know what formats, compositions, and shot types you need, which is exactly what your shot list is for.
Step 2: Build Your Shot List
A shot list is simply a list of the photos you need before you pick up your camera or phone. The five essential photo types for a personal brand library are headshots, environmental or lifestyle shots, action or working shots, detail and brand element shots, and negative-space compositions.
Here’s how each one applies to bloggers and small business owners:
Headshots
A clean, well-lit portrait from the shoulders up. You need at least two; one more formal for LinkedIn and press features, and one warmer and more relaxed for your about page and social media. These are non-negotiable.
Environmental or lifestyle shots
Photos of you in a context that reflects your work and personality. At your desk, in a café with your laptop, walking through a location that feels on-brand. These are your website hero images and social media content workhorses.
Action or working shots
Photos of you doing something — typing, writing, shooting, creating, packaging, teaching. These humanize your brand and give your audience a window into your process. Particularly effective for coaches, creatives, and service-based businesses.
Detail and brand element shots
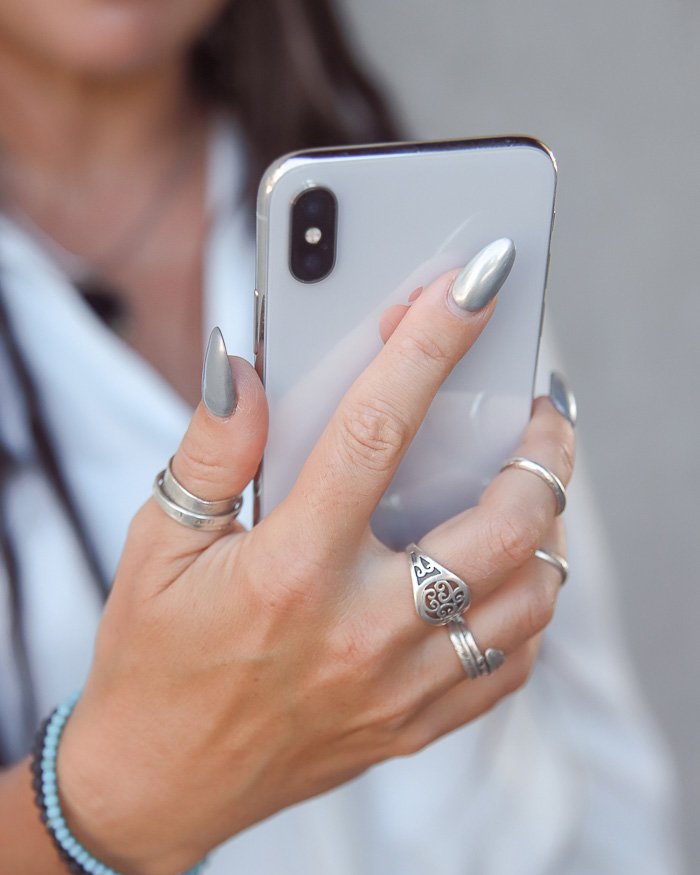
Close-ups of your hands on a keyboard, your notebook, your tools, your products, your branded materials. These are your content fillers, the images that add texture to blog posts, break up social media grids, and make your visual library feel rich without requiring your face in every frame.
Negative space compositions
Images with deliberate empty space for text overlays, website banners, and email headers. Always shoot wider than you think you need so you have flexibility to crop and add text later.
Step 3: Choose Your Locations
Location sets the tone for your entire shoot. The good news is that you don’t need to travel far or spend money on a studio to find great backdrops. Here are the four location types that work consistently well for personal branding shoots:
Your home workspace
Authentic, cost-free, and immediately relatable to your audience. A tidy desk with good window light gives you a natural, credible backdrop that grounds your brand in your real world. Even a small, well-styled corner of a room is enough.
More helpful info on setting up a DIY Home Studio here.
A café
A café with a laptop and coffee is a classic personal branding setup for good reason. It communicates approachability, flexibility, and a modern working style that resonates strongly with your audience. Perfect if you’re a blogger, coach, VA, or any service-based business owner who works remotely. Look for cafés with large windows, natural light, and relatively uncluttered backgrounds. Shoot during quieter periods when you’re less likely to have strangers in the background.
Urban outdoor locations
This is one of my favorite options for personal branding shoots. A single small urban area like a city laneway, an alley with textured walls, or a quiet street corner, can give you multiple completely different looks without moving more than a few metres.
Look for areas that combine a variety of backdrops in close proximity: a concrete wall, a timber or dark door, some greenery or vines, outdoor seating, interesting textures. These elements give you contrast and variety without requiring you to travel between locations. The key advantage of urban outdoor shooting is the abundance of indirect natural light. Buildings and overhangs diffuse direct sunlight beautifully, giving you soft, even light without the harshness of open sky.
Open outdoor spaces
Parks, botanical gardens, and tree-lined streets work well for a softer, more lifestyle-oriented aesthetic. Position yourself in open shade rather than direct sunlight for the most flattering, even light. Works particularly well for wellness, creative, and lifestyle brands.
Step 4: Plan Your Gear
You don’t need professional equipment to produce strong personal branding photos. Here’s what works at every level:
Phone, Tripod and Ring Light
Completely viable for all shot types in this guide. Use portrait mode for headshots and lifestyle shots, a tripod with a phone mount for solo shooting, and a ring light or window light for consistent, flattering illumination.
Tip: Choose a ring light with an adjustable stand and phone holder.
Coming soon: Best Tripods for Smartphone Business Photography and Best Ring Lights for Phone Photography on a Budget
Add a few accessories
A clip-on lens adds versatility, a wide angle for environmental shots and a macro for detail images. A small reflector fills shadows without adding another light source.
Coming soon: Best Phone Lenses for Small Business and Blogger Photography
Entry-level camera
If you own or are considering an entry-level mirrorless or DSLR camera, personal branding photography is one of the best use cases for it. A nice 85mm lens produces beautiful, flattering portraits with natural background blur that’s difficult to replicate fully on a phone. A tripod and remote shutter give you the same solo shooting capability as a phone setup.
Working with a photographer
If you’re briefing a photographer, this shot list is exactly what you need to share with them in advance. A well-prepared brief ensures you walk away with the images you actually need rather than a collection of nice photos that don’t quite fit your website or social media requirements.
Step 5: Prepare on the Day
A little practical preparation makes a significant difference to how smoothly your shoot runs and how relaxed you look in the final images.
- Outfits: Choose two or three that feel on-brand and comfortable. Avoid busy patterns that distract from your face. Bring options and change between locations for variety.
- Props: Keep them relevant and minimal — a laptop, a notebook, your product, a coffee cup. Props should support the story, not clutter it.
- Timing: Shoot in mid-morning for the most consistent natural light indoors and outdoors. Avoid midday direct sunlight for outdoor locations.
- Test shots first: Take a few test shots at each location before committing to your full shot list. Check focus, exposure, and background before you get into the flow of shooting.
Your Personal Branding Shot List Checklist
- Clean headshot, formal version
- Clean headshot, relaxed version
- Environmental lifestyle shot at your workspace
- Lifestyle shot at a café or alternate location
- Action shot, you working or creating
- Detail shots of your hands, tools, branded materials
- Wide shot with negative space for text overlay
- Vertical shots for Pinterest and Instagram
- Horizontal shots for website hero and banners
Start Before You Feel Ready
The most common reason bloggers and small business owners put off their personal branding shoot is waiting until everything feels perfect, the right location, the right outfit, the right camera. The truth is that a well-planned shoot with your phone and a good window will produce images that serve your brand far better than a perfectly equipped shoot you never actually do.
Build your shot list today. Scout one location this week. Set a shoot date and stick to it. Your audience wants to see the real person behind your brand, and the sooner you give them that, the sooner trust starts to build.
For the full foundation, head back to the beginner’s guide: Phone Photography for Beginners: A Practical Guide for Bloggers & Small Business Owners.