
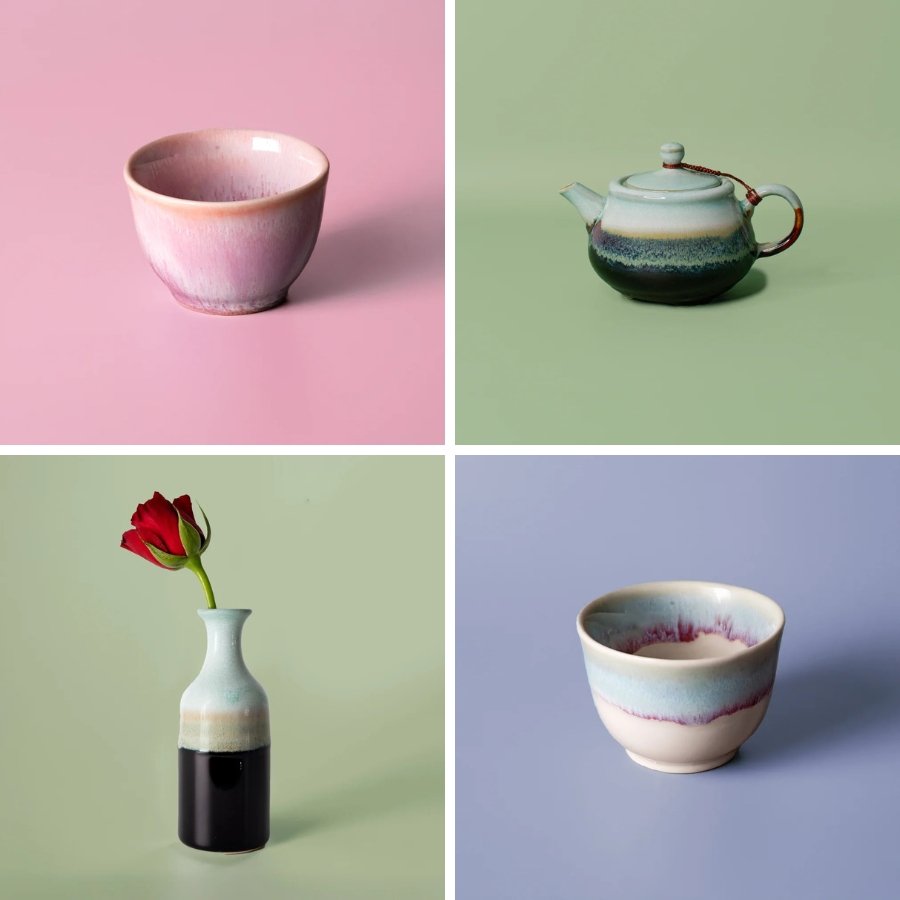
If you sell on Etsy, your photos are doing more selling than your words ever will. Before a potential buyer reads your title, checks your price, or clicks through to your shop, they’ve already made a split-second judgement based on your thumbnail image. Strong product photography doesn’t just make your listings look better, it directly affects your click-through rate, your conversion rate, and ultimately your revenue.
I know a lot of you probably can’t justify hiring a professional photographer but I’m here to help. Your smartphone, used well, is more than capable of producing the clean, accurate, trustworthy images that Etsy buyers expect. These tips apply whether you’re just opening your shop or looking to refresh an existing listing library that isn’t converting the way you’d like.
Etsy’s own seller research consistently shows that photo quality is the number one factor buyers consider when deciding whether to purchase. More than price, more than reviews, more than shipping speed, the photo makes or breaks the sale. That’s how much is riding on getting this right.
The approach in this guide is simple, practical, and designed to work in a real home environment without specialist equipment. Everything here can be applied today with the phone already in your pocket.
IN THIS GUIDE
The Non-Negotiables for Etsy Product Photography
Before we get into specific tips, here are the four things every Etsy listing photo must deliver:
Accuracy
Your photo must show the product as it actually is. Colour, size, texture, and finish should all be true to life. A photo that makes a product look better than it is generates returns and negative reviews. Accuracy builds trust and repeat buyers.
Clarity
Your hero image needs to be sharp, well-lit, and uncluttered. Etsy thumbnails are small, if your product isn’t immediately obvious at thumbnail size, you’ve already lost the click.
Context
Buyers want to understand what they’re getting and how they’ll use it. A product shot on a plain background tells them what it looks like. A lifestyle shot tells them how it fits into their life.
Consistency
Every listing photo should feel cohesive, so your shop looks established and trustworthy. Mismatched photography across your listings signals an inconsistent seller experience before the buyer has read a single word.
Tip 1: Get Your Lighting Right First
Good lighting is the single most important factor in product photography, more important than your phone model, your backdrop, or your editing skills. For Etsy product shots, soft indirect natural light is your best starting point.
Position your product beside a window on a cloudy day for soft, even, shadow-free light that shows your product accurately and flatteringly. On sunny days, diffuse direct sunlight with a thin white fabric over the window to avoid harsh shadows.
If you shoot in the evening or in a space without good natural light, a daylight-balanced bulb positioned at 45 degrees to your product is a reliable alternative. Turn off every other light source in the room before you shoot, mixed light sources create colour casts that make accurate product colour almost impossible to achieve.
I cover lighting in more detail here: The Best Natural Lighting Tips for Smartphone Business Photography
Tip 2: Use a Clean, Simple Background
Etsy buyers are looking at your product, not your background. A clean, uncluttered background keeps the focus exactly where it needs to be and gives your shop a professional, consistent feel.
White and light neutral backgrounds are the most versatile and widely used for good reason. They work with almost any product, make colours look accurate, and they’re what most Etsy buyers expect for hero listing images. A sheet of white card or foam board costs almost nothing and works beautifully.
Textured surfaces like wood, marble, linen, or slate work well for lifestyle and context shots but use them consistently across your shop rather than mixing different surfaces across listings.
More on the importance of brand consistency here: How to Create a Consistent Visual Brand Using Your Smartphone
Want to learn more about using a dedicated shooting setup? How to Set Up a DIY Phone Photography Studio at Home
Tip 3: Shoot Every Product From Multiple Angles
Etsy allows up to ten photos per listing so use them. Buyers can’t pick up your product and turn it over, so your photos need to do that job for them. A complete set of listing photos for most products includes:
- Hero shot — product centred on a clean background, shot straight on or at a slight angle
- Detail shot — close-up of your most important feature, texture, or finish
- Scale shot — product shown next to a familiar object or held in a hand so buyers understand the size
- Lifestyle shot — product in use or in context, showing the buyer how it fits into their life
- Back or underside shot — for anything where the reverse matters — labels, closures, signatures, construction quality
TIP: listings with five or more photos convert two to three times better than listings with only one or two photos.
Tip 4: Nail Your Color Accuracy
Color accuracy is non-negotiable for Etsy sellers. A buyer who receives a product that looks different from the listing photo will leave a negative review, and these can impact future buyer decisions.
Before editing, check your white balance. Look at anything that should be white or neutral in your image, if it looks yellow or blue rather than true white, your colour temperature needs adjusting. Slide toward cool to neutralise warmth, or toward warm to neutralise a blue cast.
Avoid filters entirely for your hero listing images. Filters change colour rendering in ways that are visually appealing but commercially dangerous for product photography.
When you’re ready, I cover editing for beginners here: How to Edit Business Photos on Your Phone for Free
Tip 5: Make Your Thumbnail Work Hard
Your thumbnail is your most important image, it’s what appears in Etsy search results and determines whether a buyer clicks through to your listing at all. A strong thumbnail:
- Shows the product clearly at small size
- Has strong contrast between product and background
- Looks sharp and well-lit even when scaled down
- Stands out from competing listings in the same search results
Before you publish a new listing, search your main keyword on Etsy and look at your thumbnail alongside your competitors. Does it hold its own? Does it stand out or get lost? That comparison is the most honest feedback you can get on your product photography.
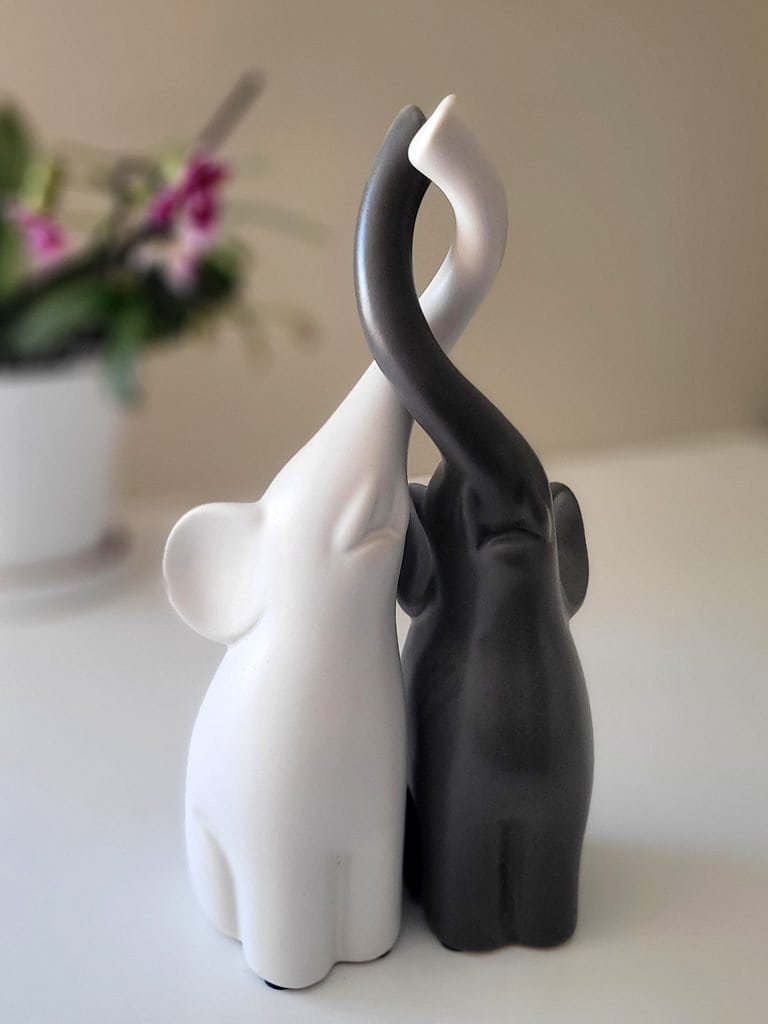
Your Etsy Product Photography Checklist
- Lighting — soft, indirect, single source, no mixed colour temperatures
- Background — clean, consistent, appropriate for the product
- Hero shot — product centred, sharp, accurate colour
- Detail shot — close-up of key feature or finish
- Scale shot — size clearly communicated
- Lifestyle shot — product in use or in context
- Colour accuracy checked — whites look white
- Thumbnail tested in Etsy search results before publishing
Better Photos, Better Sales
Every improvement you make to your Etsy product photography is an investment that pays returns on every listing, every day, for as long as your shop is open. You don’t need to reshoot everything at once. Pick your lowest-performing listing, apply these tips, and compare the results over the following weeks.
Strong product photography is one of the few things entirely within your control as an Etsy seller. Use that control.
Next Up: How to Batch Your Business Content Photos in One Afternoon
For the full foundation, head back to the beginner’s guide: Phone Photography for Beginners: A Practical Guide for Bloggers & Small Business Owners.