
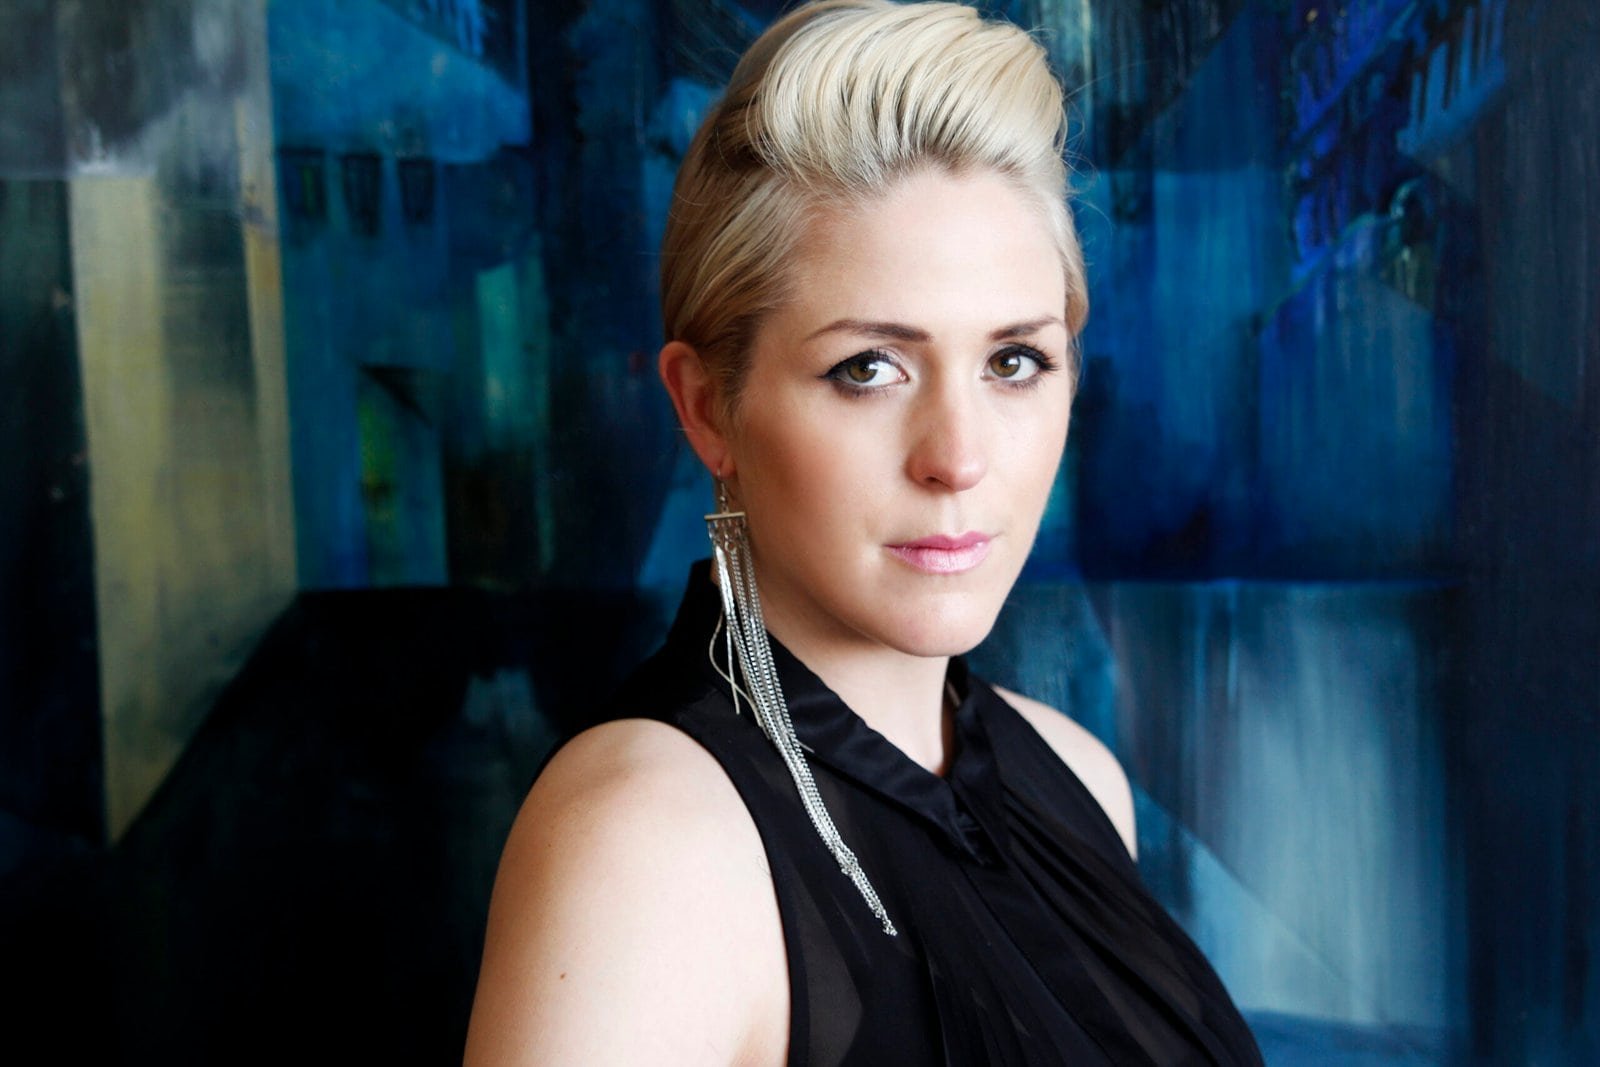
Your website is your most important piece of real estate as a blogger or small business owner. It’s where first impressions are made, trust is built, and decisions are made about whether to stick around or click away. And nothing undermines a well-designed website faster than photos that look rushed, inconsistent, or generic.
The good news is that great website photography doesn’t always require a professional photographer or an expensive camera. With the right approach, your smartphone is more than capable of producing images that make your website look polished, intentional, and trustworthy. The key is understanding what each part of your website actually needs, because a hero image, an about page photo, a blog post image, and a product shot all have different jobs to do.
This guide walks you through exactly what to shoot for each section of your website, how to approach each shot type, and the simple rules that make phone photography work in a professional website context.
One thing worth saying upfront: consistency matters more than perfection. A website where every photo feels cohesive will always look more professional than one with a handful of stunning shots surrounded by mismatched filler images. Same light, same editing style, same general aesthetic — that’s the goal.
IN THIS GUIDE
Your Website Has a Job to Do
Every page on your website is trying to do something specific. Your home page is trying to make a good first impression. Your about page is trying to build trust. Your product or services page is trying to convert browsers into buyers. Your blog is trying to demonstrate expertise.
Now, lets break it down section by section.
Your Hero Image
Your hero image is the first photo your visitors see. It sits at the top of your homepage, sets the tone for your entire brand, and communicates who you are and who you serve in a single glance. It’s the highest-impact photo on your website, and the one most worth getting right.
What makes a great hero image:
A good hero image is horizontal, well-lit, and leaves enough empty space, usually to one side or across the upper portion of the image, for your headline and call to action text to sit cleanly over the top. Busy, detailed images make text hard to read and the overall effect feels cluttered.
What to shoot:
- A styled flat lay with your hero subject to one side and open space for text on the other
- A workspace shot taken from a slight distance with room for a headline
- A portrait of yourself with space to one side, particularly effective for personal brands and service-based businesses
- A clean product shot on a simple background with negative space for text overlay
Technical tips:
Always shoot your hero image wider than you think you need. You can crop tighter later, but you can’t add back space you didn’t capture. Shoot in landscape orientation and check that the image looks clean and uncluttered at both full size and when scaled down to a smaller preview.
Your About Page
Your about page is consistently one of the most visited pages on any small business website or blog. It’s where your audience goes to decide whether they trust you, and a strong, genuine photo of yourself does more for that trust than any amount of well-written copy.
What to shoot:
- A portrait in a space that reflects your work or personality — your workspace, a favourite corner of your home, outdoors in natural light
- A lifestyle shot of you doing something relevant to your business — working at your desk, holding your product, shooting with your phone
- A clean headshot against a simple background for a more professional feel
Your photo should feel approachable, genuine, and on-brand. You don’t need a formal headshot, in fact for most bloggers and small business owners a slightly more relaxed, natural portrait works better than something that looks overly corporate.
Technical tips:
Use portrait mode for a clean, professional background blur that makes you stand out from your surroundings. Position yourself facing a window for soft, flattering natural light. If you’re shooting solo, use a tripod and your phone’s self-timer or a remote shutter to get a natural, relaxed result without someone else holding the camera.
I go into more detail on using portrait mode here: How to Use Portrait Mode for Product and Branding Photos
Blog Post Images
Every blog post needs at least one strong featured image, the photo that appears at the top of the post and represents it across your homepage, social media, and Pinterest. Beyond the featured image, supporting images throughout a post keep readers engaged and make how-to content significantly more useful.
What to shoot for featured images:
Your featured image needs to work at multiple sizes, full width at the top of the post, as a small thumbnail on your homepage, and as a Pinterest pin graphic. Shoot in landscape for blog headers and in portrait for Pinterest, or shoot wide enough to crop to both.
Choose an image that represents the topic of the post visually without being too literal. A natural lighting post doesn’t need a photo of a window, a beautifully lit product shot demonstrates the topic far more effectively.
What to shoot for supporting images:
- Step-by-step process shots taken from directly above for how-to content
- Close-up detail shots that illustrate a specific point in the text
- Before and after comparisons where relevant
- Lifestyle shots that add context and keep the reader visually engaged
Technical tips:
Shoot all images for a single blog post in the same session where possible. Consistent light and background across all images in a post makes your content feel cohesive and professionally produced.
Read more on this here: How to Create a Consistent Visual Brand Using Only Your Smartphone
Product and Service Pages
If you sell products or services through your website, your photography has a direct impact on your conversion rate. Clear, accurate, well-lit images build the confidence a potential customer needs to make a purchase or enquiry.
For product pages:
- A clean hero shot of the product centred on a white or neutral background, this is your primary selling image
- A detail shot highlighting your product’s most important feature or quality
- A lifestyle or in-use shot showing the product in a real context
- A flat lay grouping if the product is part of a collection or comes with accessories
For service pages:
- A portrait or lifestyle shot of you working. This humanises the service and builds personal trust
- A behind-the-scenes image that gives a sense of your process
- A result or outcome image where relevant — before and after, finished work, or a satisfied context shot
Technical tips:
For product photography, consistency is everything. Shoot all products against the same background, in the same light, at the same distance. Inconsistent product photography makes a shop or portfolio feel unfinished and undermines buyer confidence.
Coming soon: How to Batch Your Business Content Photos in One Afternoon
The Rules That Apply to Every Page
Regardless of which part of your website you’re shooting for, these rules apply every time:
Never use a blurry image.
A slightly out of focus image is always worse than no image at all. If you’re not happy with the sharpness, reshoot rather than publish and hope nobody notices.
Shoot more than you need.
Having a library of unused but usable images means you can update and refresh your website and repurpose your content across other platforms.
Use consistent editing across your whole site.
A unified editing style ties your website together visually. Apply the same preset or adjustment combination to every image before it goes live.
Compress every image before uploading.
Large image files slow your website down, which affects both user experience and your Google search ranking. Aim for images under 200kb where possible without sacrificing visible quality.
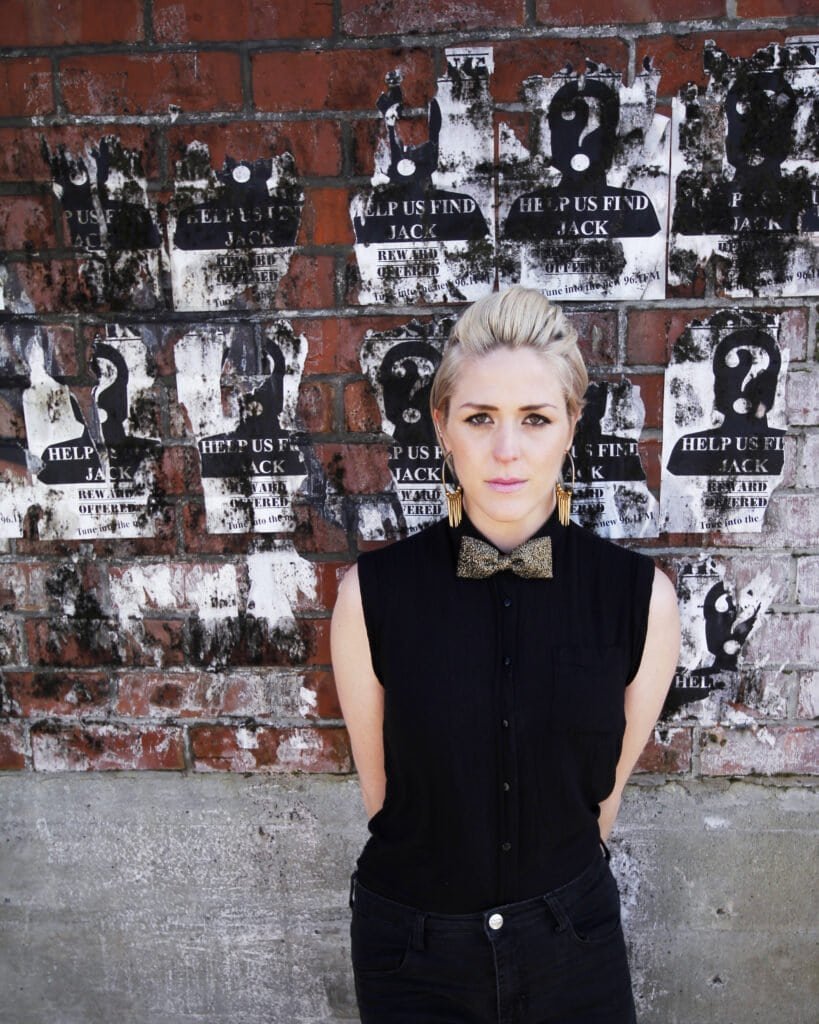
Your Website Photography Checklist
- Hero image — horizontal, well-lit, space for text overlay
- About page portrait — natural, approachable, on-brand
- Featured image for every blog post — works at multiple sizes
- Supporting images for how-to content — shot from above, consistent light
- Product or service page images — consistent background, accurate colour
- All images compressed before uploading
- Consistent editing style applied across every image
First Impressions Are Made in Seconds
Your website visitors form an opinion about your brand within moments of landing on your page. Strong, consistent photography doesn’t just make your website look better, it makes your audience feel confident that you’re the right person to help them.
You already have everything you need to create it. Pick one section of your website, apply what’s in this guide, and notice the difference a single well-executed shoot makes to how your brand feels.
Next up: learn how to plan your own personal branding photoshoot.
Or for the full foundation, head back to the beginner’s guide: Phone Photography for Beginners: A Practical Guide for Bloggers & Small Business Owners.