
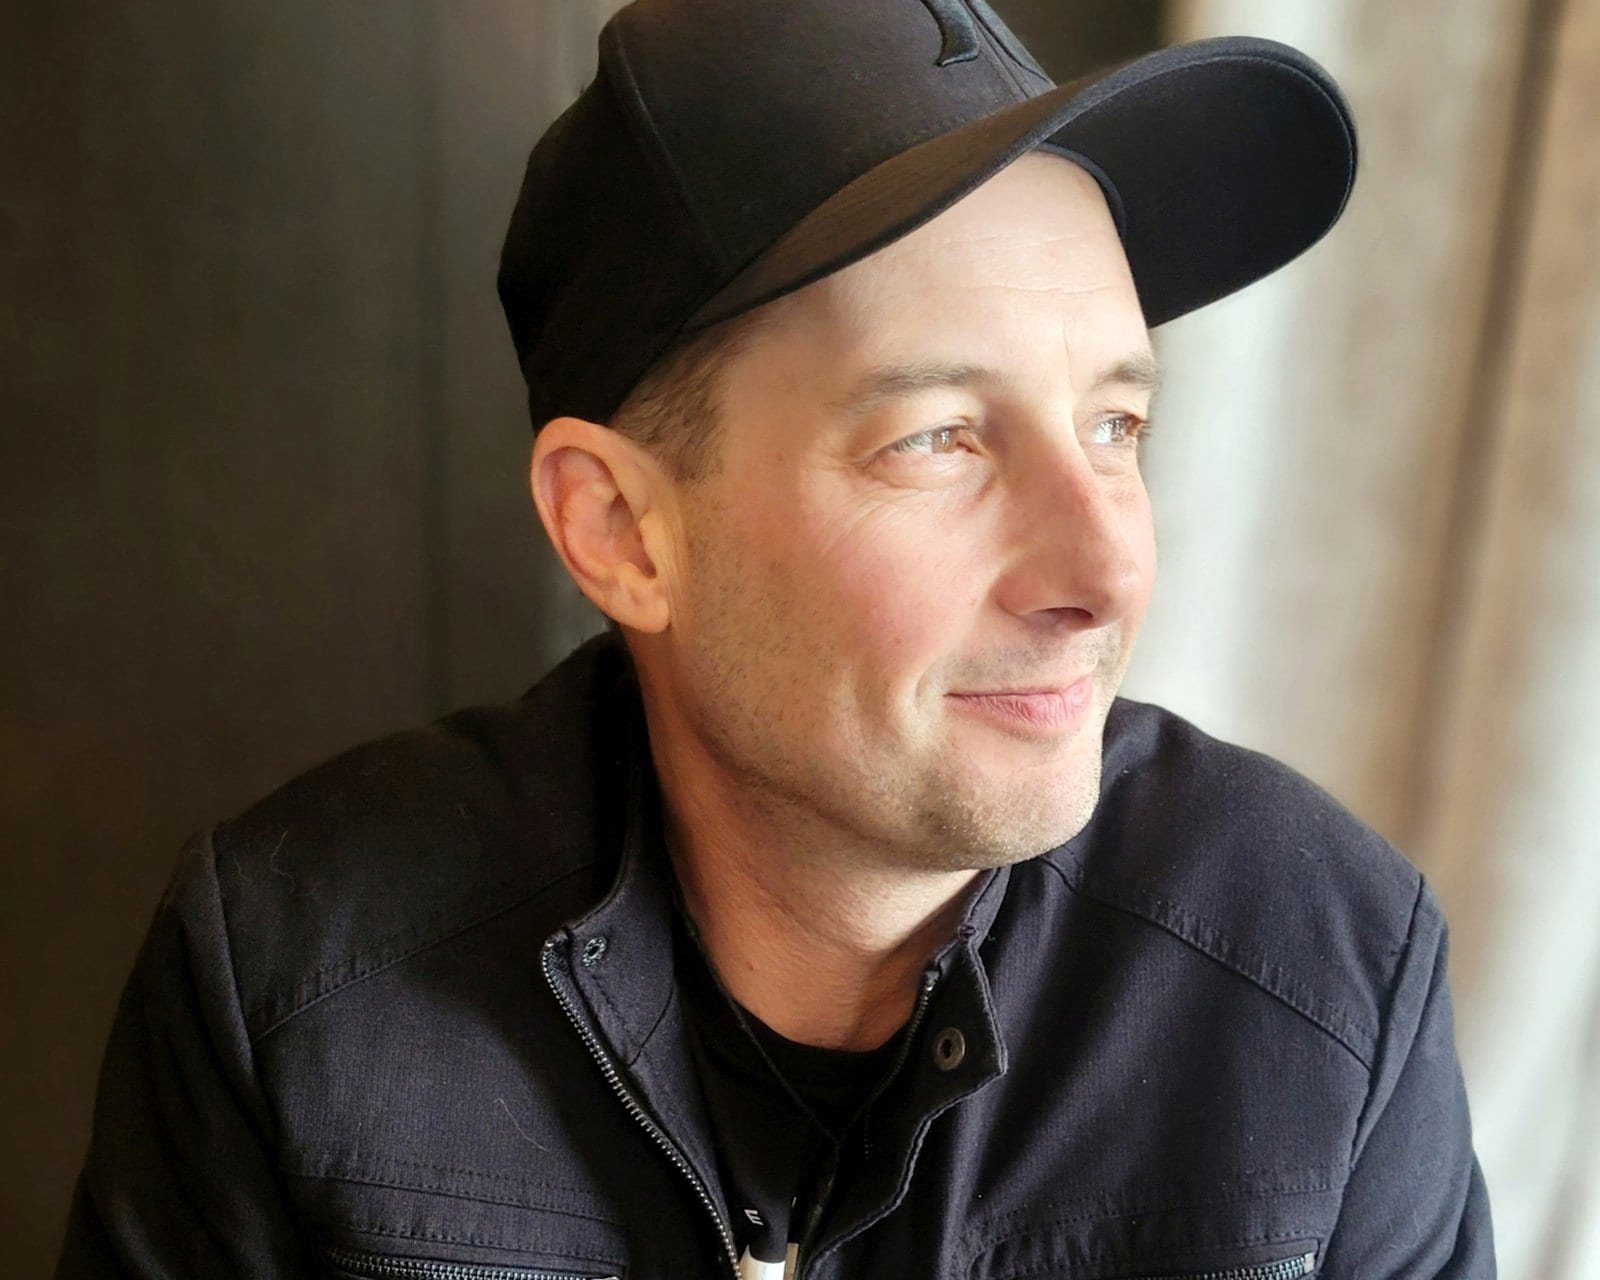
Most people think of portrait mode as a selfie feature. In reality it’s a versatile shooting mode that can elevate your product photos, headshots, and personal branding images from flat and ordinary to polished and professional.
This guide covers exactly what portrait mode does, when to use it for business photography, and the mistakes worth avoiding so you get clean, professional results every time you use it.
Portrait mode works by separating your subject from the background and applying a blur effect that mimics the shallow depth of field produced by professional cameras with expensive lenses. The result is an image where your subject stands out sharply against a softened background, drawing the viewer’s eye exactly where you want it.
The feature is available on all modern iPhones and most Android flagship phones, and although the name can vary, the underlying effect is the same across all platforms.
IN THIS GUIDE
When to Use Portrait Mode
Product Photography
Portrait mode works beautifully for product close-ups where you want your product to feel distinct from its background. A candle, a skincare product, a handmade item, a book, anything with a defined shape that you want to feel premium and considered, will benefit from the background separation portrait mode provides.
It works best for:
- Single hero product shots
- Close-up detail shots
- Products on a simple, uncluttered background
- Any product where you want to create a sense of depth and dimension
Use it with caution for:
- Products with intricate edges (fine jewelry, delicate ceramics, products with complex shapes), the blur algorithm can struggle and produce unnatural fringing around the edges
- Flat lays and multiple product arrangements. Portrait mode is designed for a single subject and doesn’t handle complex multi-object scenes well
- Products where true colour and detail accuracy matters more than a polished look
Personal Branding and Headshots
For bloggers and small business owners, portrait mode is a game changer for personal branding photography. A clean, professional headshot with a softly blurred background signals credibility and builds trust with your audience before they’ve read a single word.
It works best for:
- Profile photos for your website, social media, and email newsletter
- About page photography
- Speaker or contributor bios
- Any image where you want to feel approachable, professional, and clearly visible
Tips for headshots in portrait mode:
- Position yourself in front of a simple, uncluttered background; a plain wall, a bookshelf slightly out of focus, or a softly lit corner of a room
- Make sure your face is well lit before switching to portrait mode, the blur effect can’t compensate for poor lighting
- Always tap your eyes on screen to set focus, sharp eyes are non-negotiable in a headshot
- Check the edges of your hair carefully before you post, portrait mode handles hair better than it used to, but complex hairstyles can still produce unnatural blurring at the edges
Good lighting makes portrait mode significantly more effective, more on this here: The Best Natural Lighting Tips for Smartphone Business Photography
Getting the Most from Portrait Mode
Shoot closer than you think you need to
Portrait mode requires a minimum distance between your subject and the background to work effectively — usually at least a metre or two. The further your background is from your subject, the more convincing the blur effect will be. Move your subject away from the wall before you shoot.
Adjust the blur strength after shooting (iPhone)
On iPhone you can adjust the intensity of the background blur after you’ve taken the shot. Open the image in your Photos app, tap Edit, and use the depth slider to increase or reduce the blur effect. This is worth doing because the default blur strength is often too heavy for product photography and benefits from being dialed back slightly for a more natural result.
Use natural light wherever possible
Portrait mode performs significantly better in good light. In low light conditions the edge detection becomes less accurate and the blur effect looks more artificial. If you’re shooting headshots or product close-ups in portrait mode, prioritize finding good natural light before you switch the mode on.
Need help setting up a consistent shooting space with good light? How to Set Up a DIY Phone Photography Studio at Home
Check your edges every time
Before you post any portrait mode image, zoom in and check the edges of your subject carefully. Look for any unnatural blurring, fringing, or areas where the algorithm has incorrectly blurred part of your subject rather than the background. These are easy to miss at thumbnail size but obvious when the image is viewed full size on a screen.
Portrait Mode vs Standard Mode: Which to Use When
Use Portrait Mode
- Single hero product shots
- Headshots and profile photos
- About page photography
- Product close-ups with simple edges
- Personal branding images
Use Standard Mode
- Flat lays and multi-product shots
- Website hero images
- Behind the scenes content
- Products with intricate edges
- Any wide or landscape format shot
One Last Thing Worth Knowing
Portrait mode is a tool, not a fix. A well-lit, well-composed standard photo will always outperform a poorly lit portrait mode shot. Use it intentionally, in the right situations, with good light, and it will become one of the most valuable features on your phone camera.
For the full foundation, head back to the beginner’s guide: Phone Photography for Beginners: A Practical Guide for Bloggers & Small Business Owners